#1 Goal for this course
By the end of this course, I want you to be able to learn what Micro:bit is and how to combine robotics with code.
What is Micro:bit?
The Micro:bit is a small computer that you can use to code and create projects. It has a 5x5 LED display, buttons, sensors, and many other features that you can use to create interactive projects.
Linking Scratch and Micro:bit
Install the Scratch Link software on your computer and connect your Micro:bit to it. You can find it on the following link: Scratch Link.
Download the Scratch Micro:bit HEX file from the following link: Scratch HEX.
Drop the HEX file into your Micro:bit and you’re ready to go!
Creating a Project
Connect the Micro:bit to your computer and open Scratch.
You can now use the Micro:bit blocks to control the Micro:bit from Scratch.
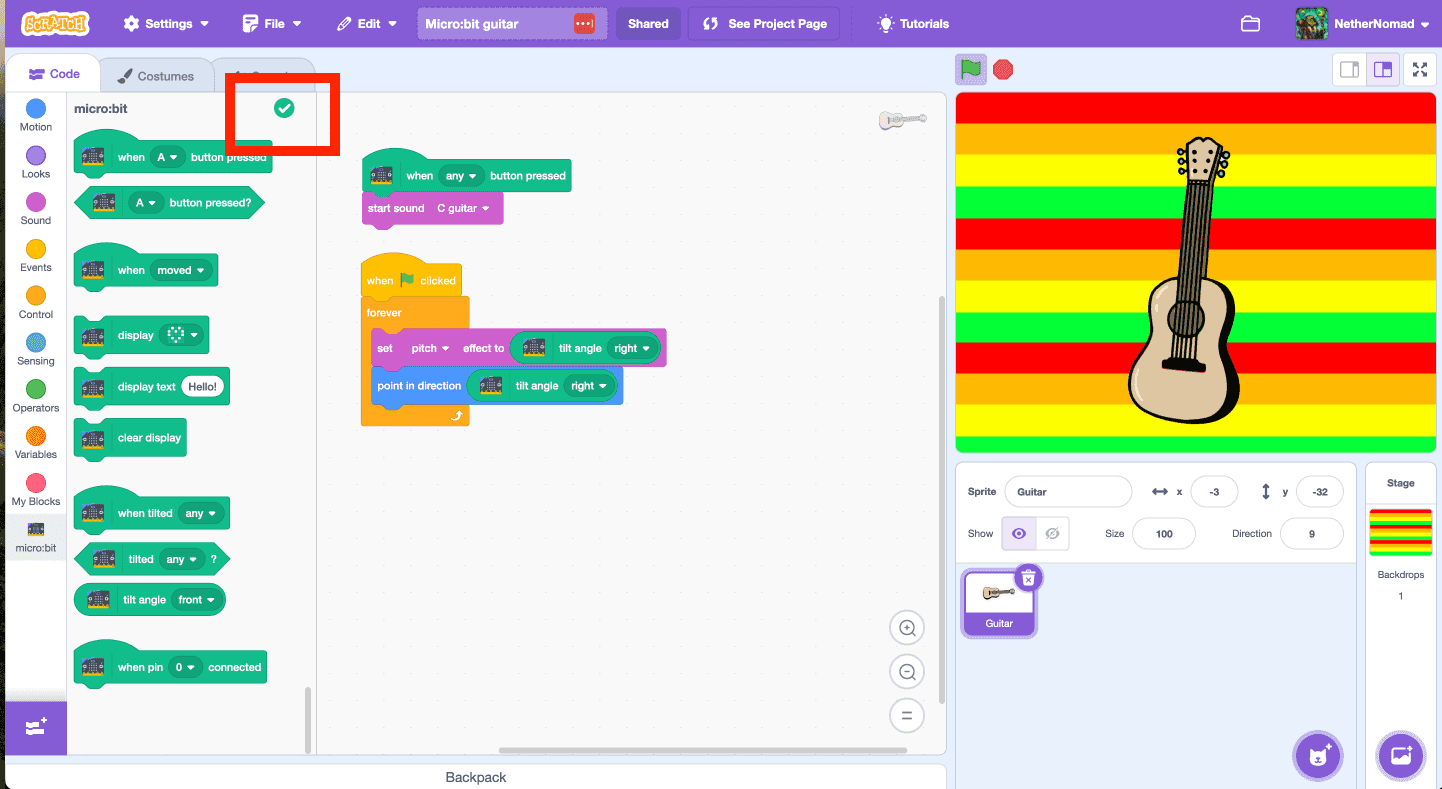
Example Project
Here’s an example project that uses the Micro:bit to control a sprite in Scratch.
Disconnect
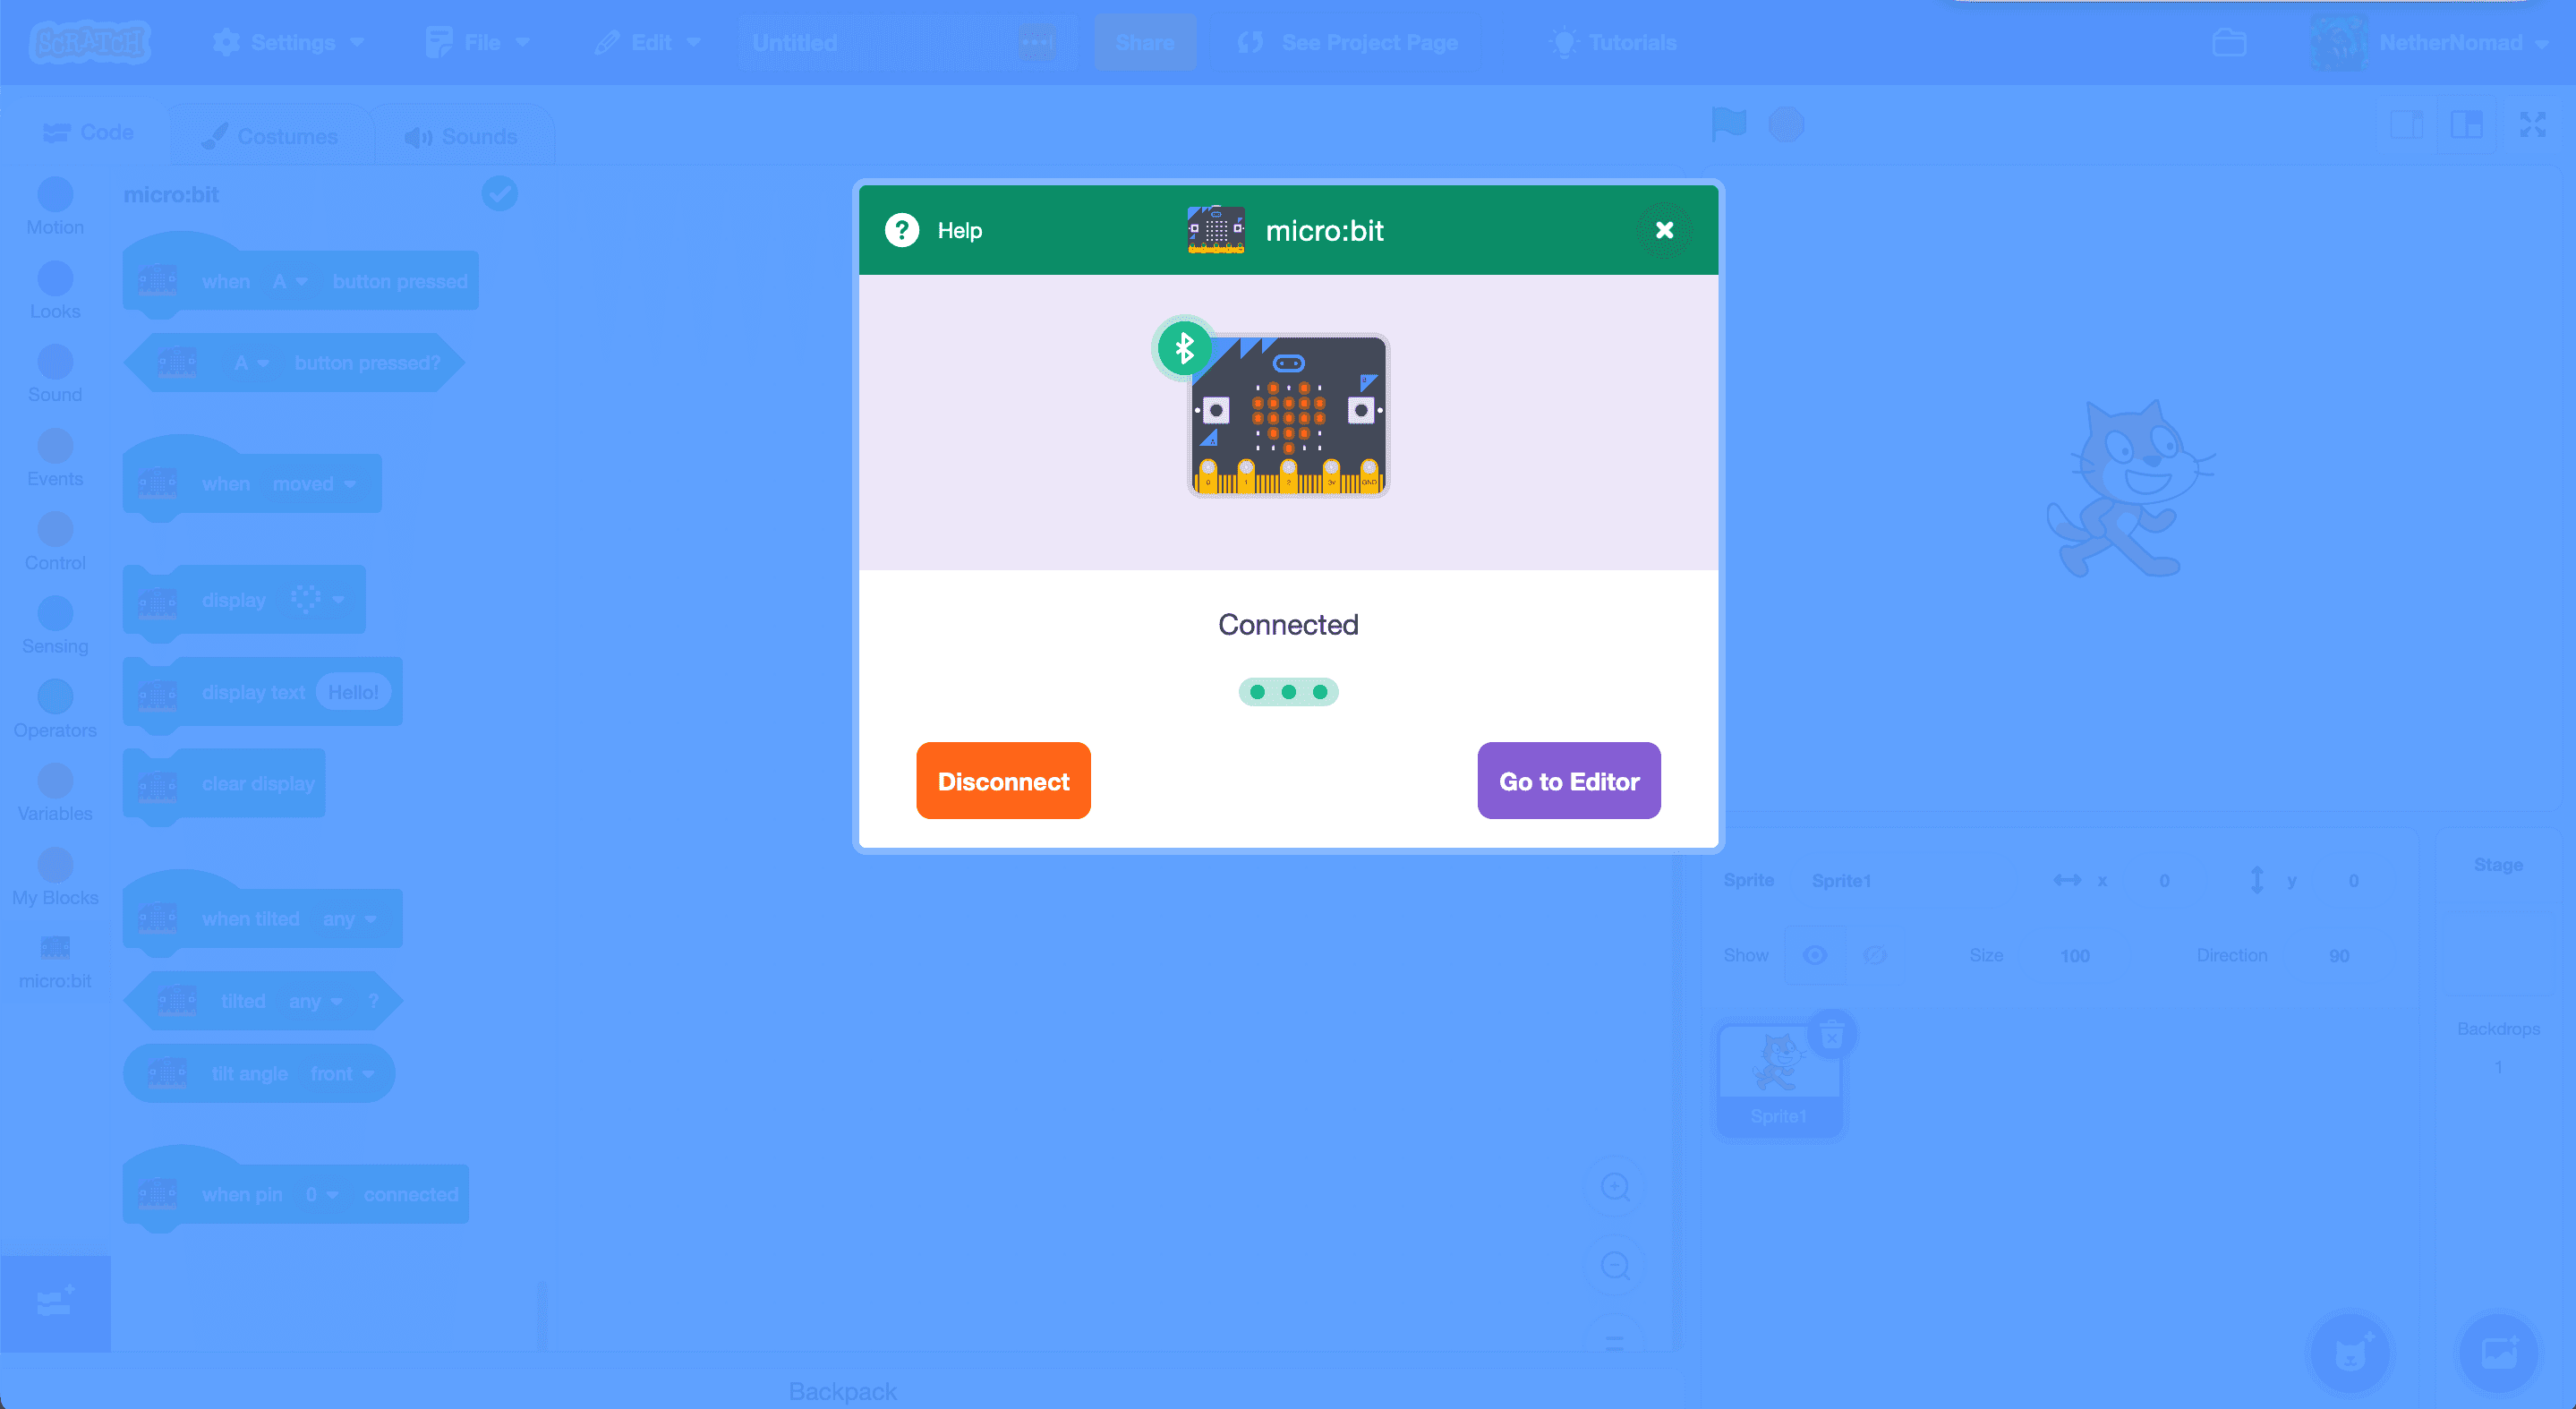
Always make sure to properly disconnect the micro:bit from your computer when you’re done using it. Click on the checkmark in the editor:
And then click on the disconnect button:
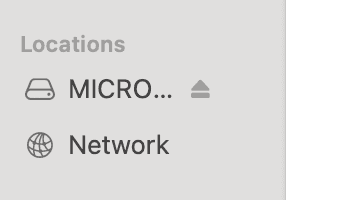
Also make sure the eject the micro:bit from your computer before removing it: